
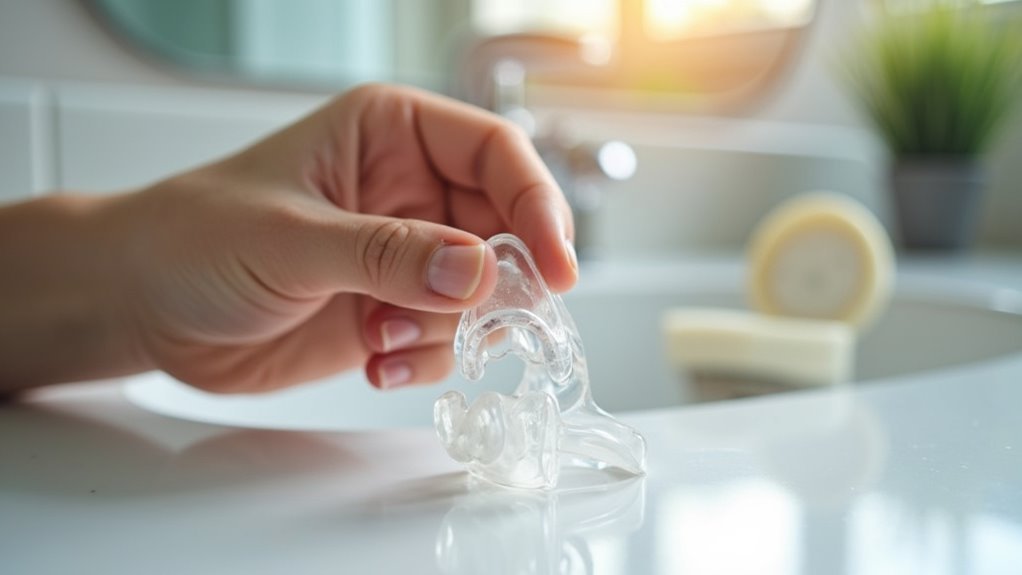
To properly fit your bruxism mouth guard, start by boiling water and submerging the guard for 20 seconds, then dip it in cold water briefly. Place the warm guard against your upper teeth, bite down hard, and create a vacuum seal by pushing firmly while sucking. Soak in cold water for one minute to set the impression. Trim any irritating portions with sharp scissors and smooth rough edges. Your guard should feel snug without gaps, covering half of each tooth while maintaining clearance from your gum line to guarantee maximum protection and comfort throughout the night.
Understanding the Importance of Proper Night Guard Fit
When you’re dealing with bruxism, achieving a proper night guard fit isn’t just about comfort—it’s essential for protecting your teeth and preventing further oral health complications.
A well-fitted guard should feel snug without requiring support from your opposing teeth, effectively shielding against teeth grinding and clenching throughout the night.
Poor fit and comfort can actually worsen your bruxism symptoms, leading to increased jaw pain and persistent headaches. An ill-fitting guard may cause gum irritation or even damage your teeth instead of protecting them.
An improperly fitted night guard can exacerbate bruxism symptoms and cause additional oral health problems instead of providing relief.
A custom-made night guard provides superior protection compared to over-the-counter alternatives.
When your night guard fits properly, it should cover approximately half of each tooth without touching your gums, preventing inflammation while maintaining ideal protection against nocturnal grinding forces.
Signs Your Current Night Guard Doesn’t Fit Correctly
How can you tell if your night guard isn’t doing its job? Several clear indicators reveal when your current night guard doesn’t fit correctly and needs adjustment.
Your night guard should fit snugly without causing discomfort. Here are key warning signs of improper fit:
- Frequent slipping – If your guard falls out during sleep, it’s not fitting properly and won’t protect against grinding damage.
- Painful irritation – Cuts, soreness, or irritation in your gums, cheeks, or tongue indicate poor molding.
- Jaw discomfort – Extreme soreness suggests the guard is too tight or misaligned, creating unnecessary pressure.
- Visible gaps – Noticeable spaces between the guard and teeth reduce protective benefits.
If you experience pain while biting down, your guard requires immediate adjustment or remolding.
Step-by-Step Molding Instructions for Custom Fit
Three essential steps transform your ill-fitting night guard into a custom-molded protector that’ll safeguard your teeth effectively.
First, boil enough water to completely submerge your mouth guard for exactly 20 seconds. Don’t let it fold during heating. Using a large spoon, remove the guard and immediately dip it in cold water for two seconds only.
Next, position the warm guard against your upper teeth and bite down hard, allowing your teeth to sink into the softened material. Push the guard firmly with your fingers while sucking hard to create a vacuum seal.
Finally, soak the fitted guard in cold water for one minute to set the impression. Your properly molded guard should fit snugly without tongue assistance, providing effective protection against grinding.
Trimming Your Mouth Guard to the Right Length
After molding your mouth guard, you’ll likely need to trim it for ideal length and comfort.
Start with an initial bite test by biting down firmly for 3 seconds to create indents that show you exactly where adjustments are needed.
Focus your end trimming technique on the back portions if they’re poking into your gums or causing irritation.
Initial Bite Test
Once you’ve heated and molded your mouth guard, you’ll need to perform an initial bite test to determine if any trimming is necessary. This critical step guarantees your mouthguard provides maximum protection while maintaining comfort throughout the night.
Follow these steps for your initial bite test:
- Bite down firmly for 3 seconds and check for indents on the inside surface indicating proper tooth contact.
- Test the length by noting if the ends irritate the back of your mouth or cause gagging.
- Assess the snug fit by confirming the guard stays secure without tongue assistance.
- Mark areas to trim that extend too far back while prioritizing front tooth protection over molars.
A comfortable fit means you can wear it all night without irritation or breathing issues.
End Trimming Technique
While most mouth guards come pre-sized, you’ll likely need to trim the ends to achieve a proper fit that doesn’t irritate your mouth or trigger your gag reflex.
Your night guard should protect your front teeth while feeling comfortable throughout the night.
Use sharp scissors to trim the excess material from both ends of the guard.
Make small, precise cuts rather than removing large sections at once.
Focus on maintaining adequate protection for your teeth while eliminating any portions that poke the back of your mouth.
After each trim, test the fit by placing the guard back in your mouth.
Check that it doesn’t cause gagging or discomfort.
If irritation persists after trimming, you may need to remold the guard or consult a professional for guidance.
Heating and Softening Your Bruxism Guard

The heat-softening process transforms your rigid bruxism guard into a malleable material that’ll conform perfectly to your teeth.
Heat-softening creates the perfect malleable consistency needed for your bruxism guard to mold precisely to your unique dental structure.
This essential step guarantees you’ll create an accurate mold of your teeth for maximum protection against nighttime grinding.
Follow these steps to properly heat your soft night guard:
- Boil water – Fill a pot with enough boiling water to completely submerge your guard without folding.
- Time the heating – Submerge the guard for exactly 20 seconds to achieve proper softening.
- Quick cooling – Use a large spoon to remove the guard and place the mouth guard in cold water for 2 seconds maximum.
- Prepare for fitting – Blot excess moisture with a towel before positioning against your upper teeth.
Proper Placement Techniques for Upper and Lower Teeth
You’ll need to position your bruxism guard correctly on both upper and lower teeth to guarantee maximum protection and comfort.
Start by placing the guard over your upper teeth first, covering about half of each tooth without touching your gums.
Once you’ve secured the upper positioning, focus on how your lower teeth align with the guard when you bite down naturally.
Upper Teeth Positioning
Proper positioning of your bruxism mouth guard on the upper teeth requires precise placement to maximize protection and comfort. Your night guard must fit correctly to prevent teeth grinding damage while ensuring you can sleep peacefully throughout the night.
Follow these essential steps for ideal upper teeth positioning:
- Cover half of each tooth – Position the guard so it covers approximately 50% of each upper tooth without extending to your gums.
- Use a mirror for alignment – Carefully align the custom mouth guard over your upper teeth, ensuring it sits snugly without lower teeth support.
- Create proper impression – Bite down firmly to mold the guard to your upper tooth structure.
- Maintain pressure and suction – Press against molars while sucking hard to create a secure vacuum seal.
Lower Teeth Alignment
While most bruxism mouth guards primarily protect your upper teeth, achieving ideal lower teeth alignment guarantees maximum comfort and effectiveness during wear.
Your night guard shouldn’t rely on lower teeth for support or stability. When you bite down naturally, your lower teeth should maintain comfortable contact without forcing the guard against your gums.
Check that your lower teeth don’t push the guard upward or create pressure points. The fit correctly positioned night guard allows your jaw to close naturally without shifting your bite pattern.
Your lower teeth should move freely without hitting the guard’s edges during normal jaw movements.
If you grind your teeth severely, verify your lower teeth don’t force the guard out of position during sleep, maintaining proper protection throughout the night.
Creating the Perfect Bite Impression
Creating an accurate bite impression requires careful preparation and precise timing to guarantee your bruxism mouth guard fits comfortably throughout the night.
Precise timing and careful preparation are essential for creating a comfortable, well-fitting bruxism mouth guard that lasts all night.
Before beginning the molding process, clean your teeth thoroughly to prevent food particles from compromising the impression quality.
Follow these essential steps for creating a perfect fit:
- Heat the guard – Submerge your Brux Night Guard in boiling water for exactly 20 seconds to soften the material properly.
- Position quickly – Place the warm mouth guard over your upper teeth immediately, applying firm pressure for an accurate bite impression.
- Bite and suck – Bite down firmly while creating suction to mold mouth guard perfectly to your teeth.
- Set the impression – Soak in cold water for one minute to achieve a snug fit.
Cooling and Setting Your Mouth Guard Shape
Once you’ve achieved the perfect bite impression, the cooling process becomes your next priority for locking in that custom shape.
Immediately place your mouth guard in cold water for no more than 2 seconds. This quick dip helps retain the molded form while cooling it down rapidly.
Allow at least one minute for proper setting before testing the fit. Your mouth guard should sit snugly against your upper teeth without needing tongue support. This indicates you’ve achieved the correct shape for ideal protection.
If discomfort occurs or the fit feels off after cooling, you’ll need to adjust or remold it.
Proper cooling and setting prevent irritation during use while ensuring effective grinding protection throughout the night.
Testing for Secure Fit Without Jaw Assistance
After your mouth guard has cooled and set, you’ll need to verify it stays secure without relying on jaw clenching or tongue pressure. Testing for secure fit guarantees your bruxism guard will function properly throughout the night.
Follow these steps to evaluate your mouth guard’s security:
- Insert the guard gently – It should feel snug and secure without forcing it into place.
- Bite down lightly – The guard shouldn’t shift, create gaps, or cause pain or discomfort.
- Open your mouth slightly – The guard should remain positioned without jaw assistance or falling out.
- Check gum contact – Confirm it covers only half of each tooth without touching your gums.
Regularly check comfort level during use. If your guard feels loose, shifts during testing, or becomes uncomfortable over time, consult a dentist for proper adjustments.
Adjusting Pressure Points and Sharp Edges
Even with a properly fitted mouth guard, you’ll likely need to make minor adjustments to eliminate pressure points and smooth any sharp edges that can cause discomfort.
Start by checking for sharp edges along the guard’s perimeter that could cut your gums, cheeks, or tongue. Use a nail file or fine sandpaper to smooth these areas carefully.
When adjusting pressure points, bite down periodically to identify spots causing pain or excessive pressure. Trim these areas gradually, removing small amounts at a time.
Verify the guard doesn’t extend onto your gums, as this causes soreness and inflammation.
Focus on achieving a snug fit without excessive tightness that could cause jaw soreness or misalignment.
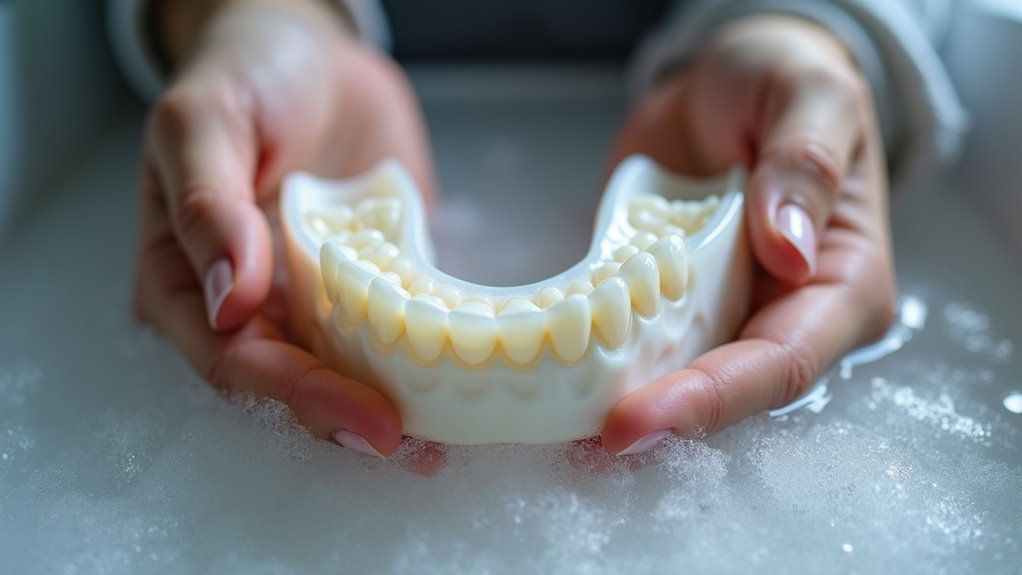
Ensuring Proper Gum Clearance and Tooth Coverage
You’ll need to check that your mouth guard maintains proper clearance from your gum line while covering approximately half of each tooth’s surface.
The guard’s edges should sit just above where your teeth meet your gums, creating a small gap that prevents irritation and soreness.
This positioning guarantees you’re getting maximum protection without the discomfort that comes from having the guard push against sensitive gum tissue.
Gum Line Protection
Proper gum line protection forms the foundation of a comfortable night guard fit. Your night guard should create a protective barrier between your teeth without compromising your oral health through gum irritation.
To achieve ideal gum line protection and proper fit, follow these essential guidelines:
- Maintain adequate clearance – Keep a slight gap between your night guard’s edge and gum line to prevent soreness.
- Cover approximately half of each tooth – This provides protection without extending into sensitive gum tissue.
- Check for pressure points – Ascertain the guard doesn’t cut into your gums, which can cause canker sores.
- Test bite comfort – Your natural bite shouldn’t create excessive pressure on gums.
Proper gum line protection prevents inflammation while maintaining the night guard’s protective function, assuring you’ll actually wear it consistently.
Half Tooth Coverage
Building on proper gum line positioning, the half tooth coverage rule determines exactly how much of your teeth the night guard should protect. Your bruxism mouth guard should cover approximately half of each tooth’s surface, providing effective protection without completely enclosing your teeth.
This proper fit guarantees ideal defense against grinding while maintaining comfort throughout the night.
Don’t extend the guard to your gums, as this creates irritation and inflammation. You’ll notice a slight gap between the front edge and your gum line—this is normal and necessary for comfort.
The half tooth coverage allows natural jaw movement during sleep while preventing soreness. When your night guard follows this positioning rule, it effectively protects against bruxism-related damage without compromising your oral health or sleep quality.
Proper Edge Positioning
The night guard’s edge positioning creates a delicate balance between protective coverage and oral comfort. You’ll need to verify the guard doesn’t extend into your gums while maintaining adequate tooth protection. Proper edge positioning prevents soreness and inflammation that can occur when the material presses against sensitive gum tissue.
Follow these essential positioning guidelines:
- Leave a slight gap between the front edge and your gum line to prevent irritation.
- Check for snug fit without excessive tightness that cuts into gums.
- Guarantee comfort by avoiding contact with cheeks or tongue during use.
- Monitor regularly to maintain effective protection and prevent discomfort.
Your night guard should feel secure and natural while covering approximately half of each tooth’s surface for peak grinding protection.
Different Bite Surface Options for Various Grinding Severities
Two distinct bite surface options cater to different grinding intensities, ensuring your mouth guard provides ideal protection based on your specific bruxism severity.
Flat occlusal surface designs work best for severe grinders, providing smooth resistance-free contact that minimizes discomfort during heavy clenching episodes. This surface reduces friction and allows unrestricted jaw movement.
Indented occlusal surface options suit moderate grinders by allowing natural tooth positioning while discouraging harmful lateral grinding motions. The molded design cradles your teeth comfortably.
| Bite Surface Type | Best For | Key Benefit |
|---|---|---|
| Flat | Severe bruxism | Reduces resistance |
| Indented | Moderate grinding | Natural tooth fit |
| Custom hybrid | Variable severity | Adaptive protection |
Selecting the appropriate bite surface protects your teeth from grinding damage while addressing jaw pain and ensuring comfortable overnight wear.
Maintaining Your Properly Fitted Mouth Guard
Once you’ve achieved a proper fit for your bruxism mouth guard, consistent maintenance becomes vital for preserving its protective function and extending its lifespan.
Your custom night guard requires regular care to remain effective against teeth grinding.
Follow these key maintenance practices:
- Clean daily – Use a soft toothbrush and mild soap to maintain hygiene and prevent bacteria buildup.
- Store properly – Keep your guard in a ventilated case to protect it and allow complete drying.
- Inspect your mouth guard regularly – Check for cracks, tears, or shape changes that indicate replacement needs.
- Avoid temperature extremes – Keep away from hot water and direct sunlight to prevent warping.
Schedule routine dental check-ups to verify your mouth guard continues fitting properly and protecting your teeth effectively.
Frequently Asked Questions
How Do You Fit a Bruxism Mouth Guard?
Boil your bruxism mouth guard for twenty seconds, then quickly bite down firmly while creating suction. Make certain it covers half your teeth without touching gums, then soak in cold water to set.
How Do I Know if My Mouth Guard Fits Properly?
You’ll know your mouth guard fits properly if it stays secure without clenching, doesn’t cause pain or gum irritation, covers half of each tooth, and remains comfortable throughout the night without falling out.
How Should a Sleeping Mouth Guard Fit?
Your sleeping mouth guard should fit snugly against your teeth without needing opposite teeth for support. It should cover half of each tooth, feel secure but not tight, and shouldn’t cause pain.
How to Make a Mouth Guard Fit Properly?
Heat your mouth guard in boiling water for twenty seconds, then quickly place it on your upper teeth. Bite down firmly while sucking to create a vacuum seal for proper custom fitting.


Leave a Reply